
How to Annotate Job Photos: Mark What Matters
Six months after a bathroom remodel, a client emails about a cracked tile. You open the before-photos. There it is — or is it? The photo shows the whole bathroom floor, a dozen tiles across, and you can't tell which tile you meant to document, or whether the crack was already there when you arrived.
The photo did its job. It just didn't say what it meant.
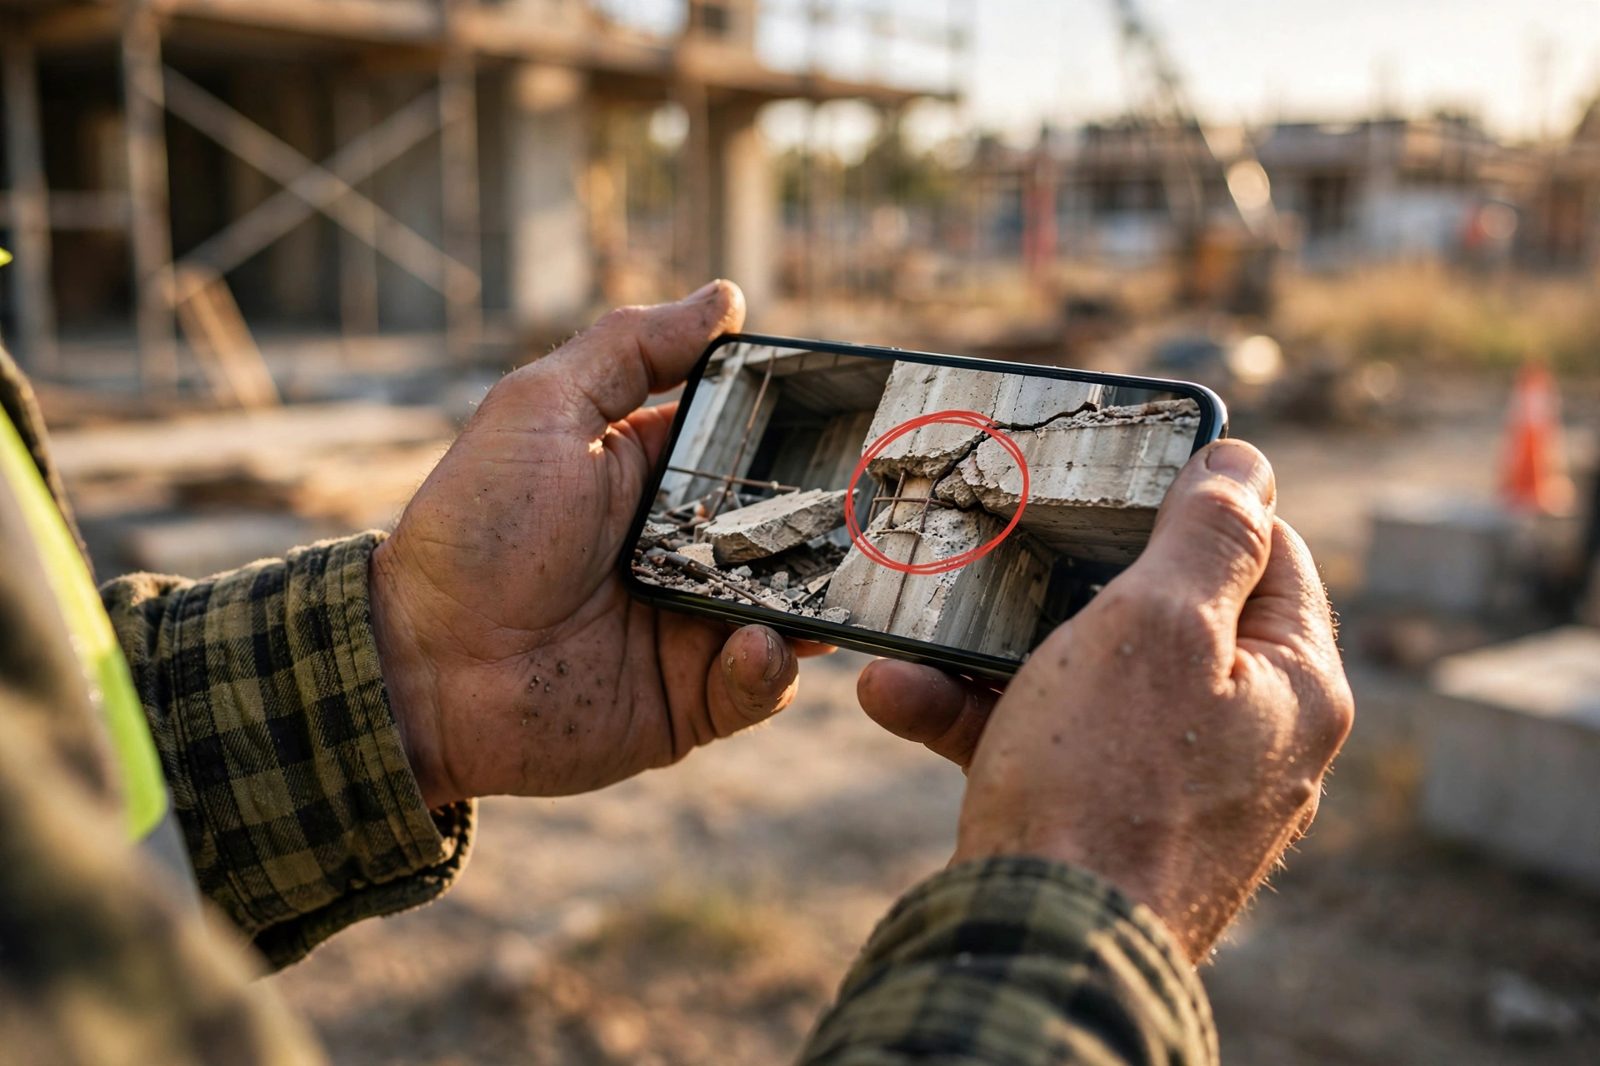
That's what annotation is for. A quick circle, an arrow, a short label — and the important detail is easier to identify, months later, for someone who wasn't standing there with you.
What photo annotation actually is
Annotation is markup drawn on top of a photo: arrows, circles, boxes, highlights, and text labels that point at the exact thing the photo is documenting. It doesn't change what's in the photo. It tells the viewer where to look.
Contractors reach for it in a handful of recurring situations:
- Pre-existing damage. Circle the dent, scratch, or stain before work starts, so the before-photo is unambiguous.
- Issue locations. Point an arrow at the exact spot — this valve, that seam — instead of describing it in a caption nobody will read.
- Labels. A short text tag — "master bath, north wall" — so a photo taken in a hallway of identical doors is identifiable later.
- Progress markers. Highlight what changed since the last visit when the difference is subtle.
- Handoffs. Mark what still needs attention for anyone reviewing the job after you.
The rule of thumb: if you'd have to explain the photo out loud, it needs a mark.
The six markup tools (and when to reach for each)
- Arrow — pointing at one specific thing: a crack, a valve, a fixture.
- Circle — ringing an area: damage, a stain, a patch of concern.
- Rectangle — framing a region: a wall section, a work-area boundary.
- Highlight — calling out part of the image when the detail is easy to miss.
- Text — short labels: room names, directions, measurements, "before" notes.
- Freehand — anything the shapes can't cover: tracing an irregular crack, sketching a path.
Keep marks simple. One or two per photo. A photo with eight arrows needs a second photo, not more arrows.
How to annotate a photo in Jobument
- Open the job, open the photo, and tap Annotate .
- The annotation editor opens. Pick a tool from the toolbar: Arrow, Circle, Rectangle, Freehand, Text, or Highlight.
- Draw directly on the photo. With the Text tool, tap where the label should go and type it in.
- Made a mistake? Undo and Redo are in the toolbar.
- When you're done, tap Save Annotated Copy .
Your original photo is never altered. Annotations are saved as a separate annotated copy linked to the original. The untouched original stays exactly as captured — with its integrity fingerprint intact — and you can flip between the annotated version and the original at any time to compare.
The marked-up copy stays with the evidence. It appears alongside the original in the job record, so the annotated version and the pristine version travel together in the app. In the PDF report, photos print from the originals, with annotated copies referenced in the detailed evidence manifest.
Good annotation habits
- Annotate the same day. You know what the mark means today. In three months, an unlabeled arrow is a mystery.
- Label the where. A room and direction in a text tag — "kitchen, east wall" — turns a close-up into a record you can place.
- Mark before, not after. Circle pre-existing damage in the before-photo, not in the after-photo when you're already explaining yourself.
- Less is more. The mark should make the photo faster to understand, not busier.
The point
A photo shows what was visible. An annotated photo shows what you saw. The few seconds it takes to circle the damage or label the wall are what turn a camera roll into a job record — one that still makes sense when you need it most.
This is the exact workflow Jobument was built around: photos organized per job, marked up without ever altering the original, and finished into a professional Jobument Report. The free tier covers 3 full jobs, so you can put this annotation habit to work on your next three jobs without paying anything.
Document your next job properly — free
Jobument lets you mark up job photos with arrows, circles, and labels — without ever altering the original. It builds a professional proof-of-work report you can hand the client at final walkthrough.
FAQ
Does annotating a photo change the original?
No. In Jobument, annotations are saved as a separate annotated copy linked to the original photo. The original stays exactly as captured, with its integrity fingerprint intact — and you can flip between the two at any time to compare.
Do my marked-up photos appear in the PDF report?
Photos in the Jobument Report print from the originals, and annotated copies are referenced in the detailed evidence manifest. The marked-up versions live alongside the originals in the job record inside the app.
Can I remove an annotation?
While you're editing, Undo and Redo are in the toolbar. After saving, an annotated copy can be deleted from the job record — the untouched original is always unaffected.
When should I annotate — during the job or after?
During. The Annotate option is available while the job is active, so mark up photos the same day you take them, when you still know exactly what each mark means. Once a job is marked complete, its record is closed to further markup.
About the author
Jeff Ratica is the Founder and Managing Member of SmartChat Innovations LLC, a software company based in Raleigh, North Carolina. He designs and builds Jobument, a job-documentation app for contractors, and VoiceVault, a private voice journal app.
Related resources
How to Document Pre-Existing Damage Before Starting Work
The 10-minute pre-work photo checklist — exactly what to photograph before your crew arrives. Pair it with annotation: circle the damage in the before-photo while you're there.
Read the guide
More practical guides, checklists, and resources from SmartChat Innovations.
Browse all resources